¶ MA3D Network Settings
- In MA3D go to File → Settings.
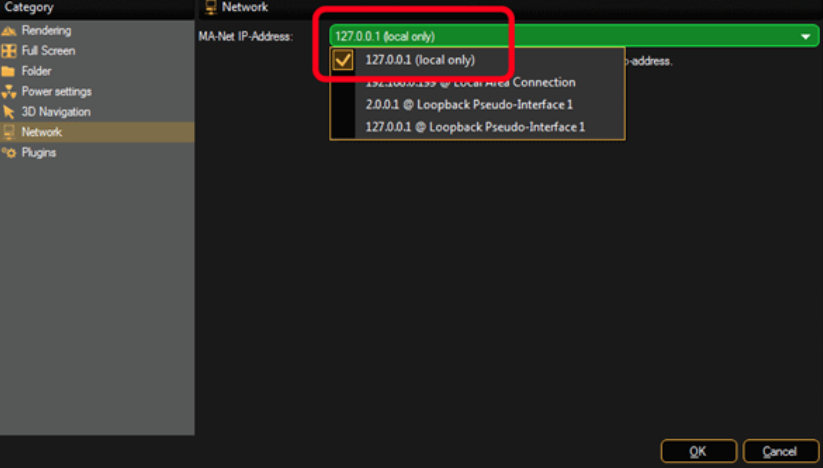
- Click on Network from the category menu on the left.
- From the drop-down menu, choose 127.0.0.1.
- Restart MA3D for the change to take effect.
¶ Setup Console to Connect to MA3D
- Go into Setup → MA Network Control.
- Press Leave Session in the bottom left corner.

- Click on Station IP, and choose
127.0.0.1. - Click Create Session to begin a new session with the new IP address.
- Close out of MA-Net Controls and open MA Network Configuration.
- Click on the 3D tab.
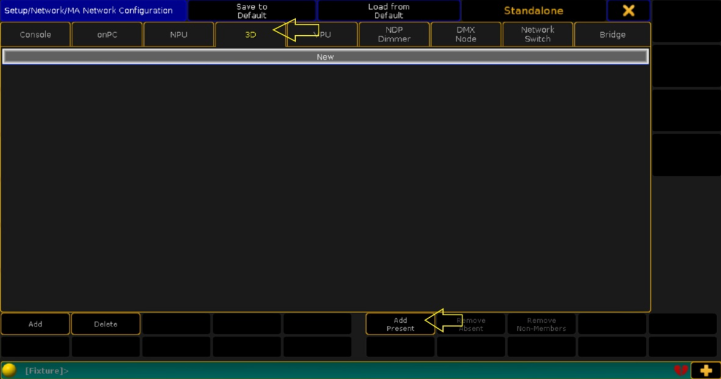
- If there isn't a line for your MA3D station, press Add Present at the bottom.
- Toggle the Session member column and set it to Yes.
- Check that the User column shows the correct console user profile.
- Close out of the setup window.
Your room should now be showing in the 3D window.